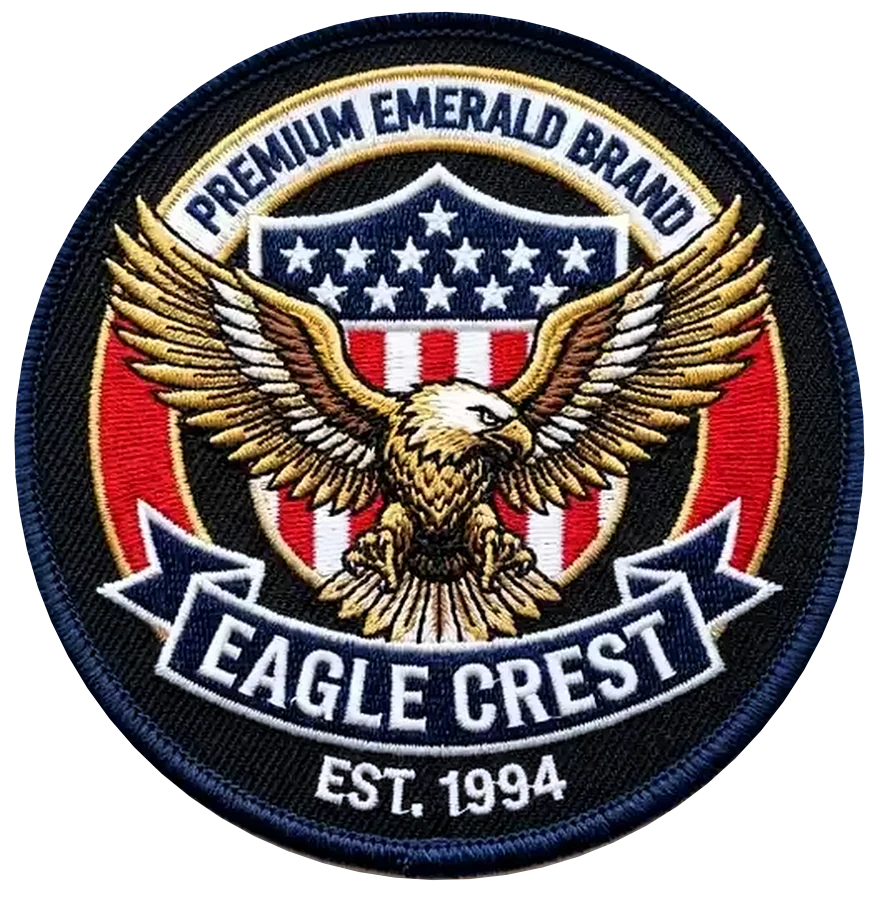
Custom Embroidered Patches
Classic raised stitch, the industry standard.
Try it on a hoodieGet Your Price in 24 Hours Tell us your size, quantity and budget, and we’ll work with it.
- Free Proofing
- No Setup Fees
- Low Minimums
- Worldwide Shipping
- Free Shipping on 100+ Patches
Every order gets these free: Free Quote Free Digital Proof (within 24h) No Setup Fees Free Shipping (100+ patches) Free Sample (500+ patches)
or drop file here
PNG, JPG, WebP or SVG, up to 3 MB. Your file stays in your browser until you choose a next step.
No design yet? Tell us your idea and our team will help.

Patch Details
Custom Embroidered Patches
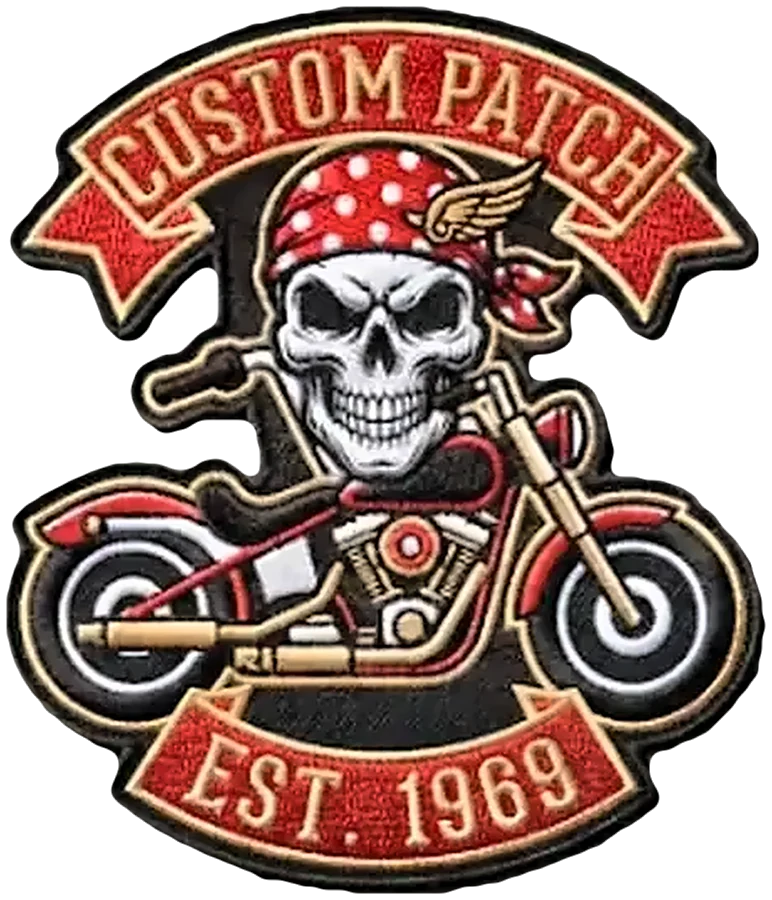
Dense thread stitched over a twill backing for a raised, textured look that reads well from a distance. The most requested style for uniforms, brands and clubs.
- Material
- Dense thread stitched over a twill backing
- Finish
- Raised, textured stitch with a clean merrowed edge
- Backing
- Multiple backing options
- Size Options
- Preview 2, 3, 4 and 5 inch patches in the customizer
- Customization
- Thread colors, border and shape from your artwork; metallic thread and 3D puff embroidery are available
- Best For
- Uniforms, brands and clubs
- Production
- Free digital proof first. Most styles ship 7–10 business days after proof approval (chenille 10–14)
1234 - Stitching Vibrant thread colors
- Border Clean merrowed edges
- Shape Nearly any design shape
- Durability Holds up wash after wash
Backing Options
Which Backing Fits Your Embroidered Patch?
Seven ways to attach a patch. The ones marked available can be ordered on embroidered patches; how to apply each one is just below.
Sew-On
Stitched straight onto the fabric. The strongest hold, made for heavy use and frequent washing.
Available for Embroidered patches
Iron-On / Heat Seal
A glue film on the back bonds to the fabric under an iron or heat press. Best on cotton and cotton blends.
Available for Embroidered patches
Velcro / Hook & Loop
The hook side is sewn on the patch and the loop side goes on your gear, so you can swap patches whenever you like.
Available for Embroidered patches
Sticky / Peel & Stick
Peel the liner and press on. Good for events and short-term use; it does not hold like stitching.
Available for Embroidered patches
Pin
A pin on the back lets you wear the patch on hats, bags, lanyards and jackets and move it any time.
Available for Embroidered patches
Magnetic
A two-part magnet holds the patch through thin fabric with no pins or stitching. Keep away from pacemakers.
Available for Embroidered patches
Butterfly Clutch
A short post on the back goes through the fabric and locks with a butterfly clutch, like a lapel pin.
Available for Embroidered patches
How Embroidered Patches Are Applied
Pick the backing on your patch to see the right steps.
 123
- Stitches The back of the embroidery, no film or glue
- Edge Merrowed border to sew through
- Fabric Plain twill back, nothing to wear off
Sew-on: The most permanent option, and the one that holds up to heavy daily wear.
-
1
Position the patch
Lay it where you want it and check the placement from a step back before you commit.
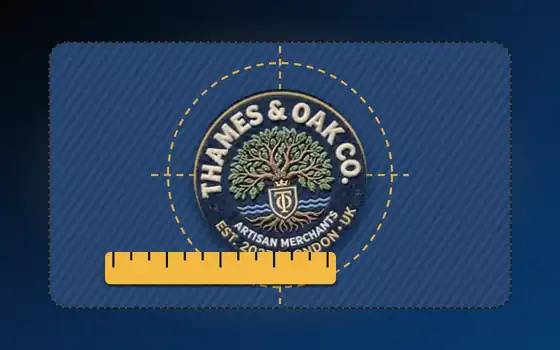
-
2
Hold it in place
Secure it with pins or a few temporary basting stitches so it cannot shift while you sew.

-
3
Stitch around the edge
Use a needle and thread that matches the patch border, and sew all the way around the edge, passing through the garment fabric.

-
4
Finish the thread
Knot the thread on the inside, trim the ends, and remove the pins.
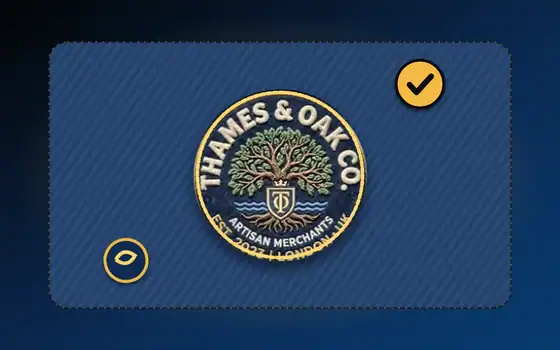
 123
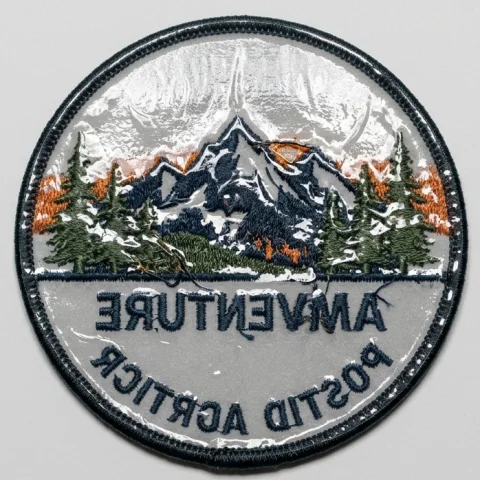
- Glue film Heat-activated film over the whole back
- Coverage Reaches right up to the border
- Bond Melts into the fabric under the iron
Iron-on: Heat-activated adhesive, pressed on with a household iron. No sewing needed.
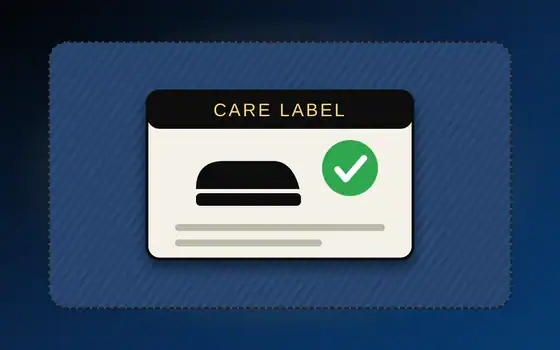
Only for fabrics that can take heat. Check the garment's care label first, and skip this method on anything marked do-not-iron.
-
1
Check the garment
Read the care label. Only use heat on fabric that is safe to iron, and iron the spot flat first so the patch sits smoothly.
-
2
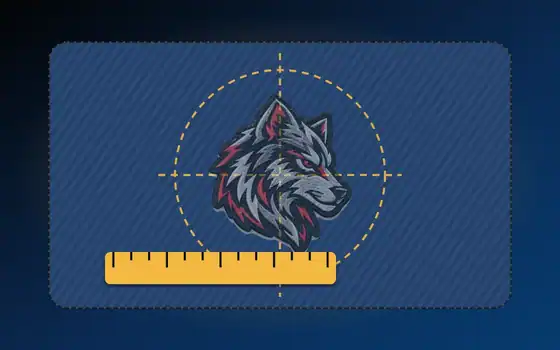
Position the patch
Place it adhesive side down exactly where you want it. Check the position before any heat touches it.
-
3
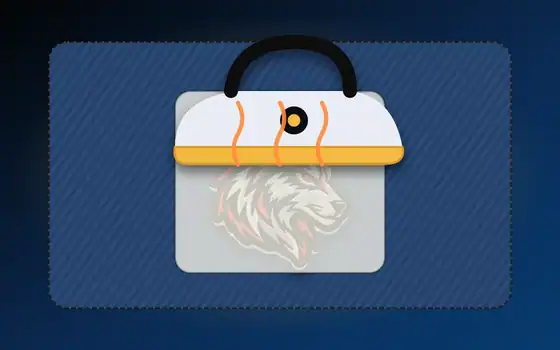
Press with heat
Cover the patch with a thin cloth and press with a household iron, using the temperature and time on the instructions supplied with your patch. Use firm, even pressure.
-
4
Let it cool
Leave it undisturbed until the patch and fabric have cooled so the adhesive can set.
-
5
Check the edges
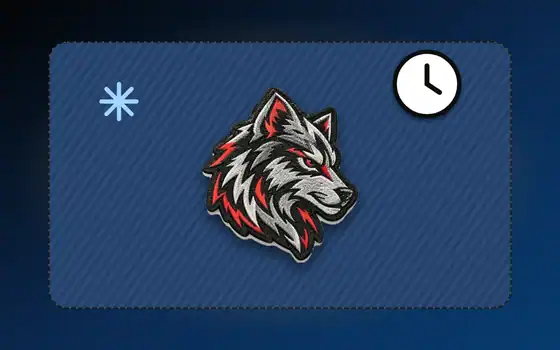
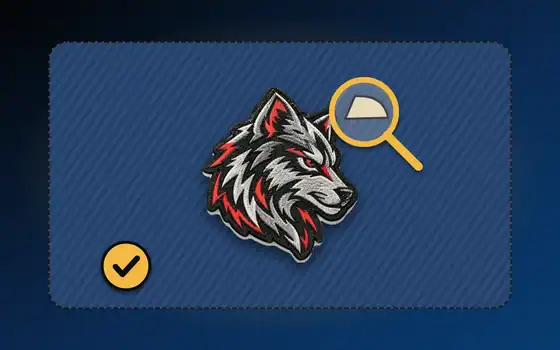
If an edge lifts, re-press with the cloth barrier for a few seconds. Turn the garment inside out before washing.
 123
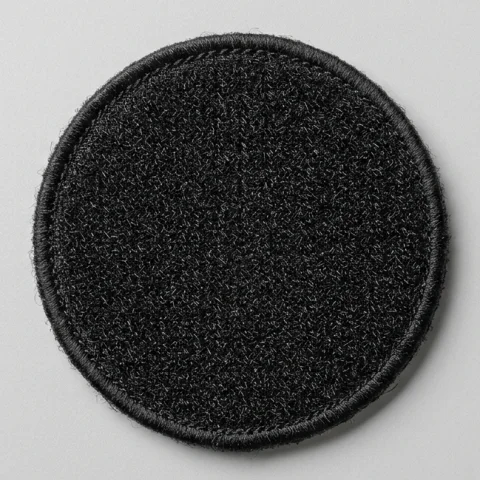
- Hook side Stiff hooks grip a loop panel
- Edge Sewn on all the way round
- Reuse Pull off and press on again
Velcro (hook and loop): Hook-and-loop backing lets you swap a patch between bags, jackets and gear.
Velcro only holds on a loop surface. A plain fabric garment needs a loop panel first.
-
1
Check the receiving surface
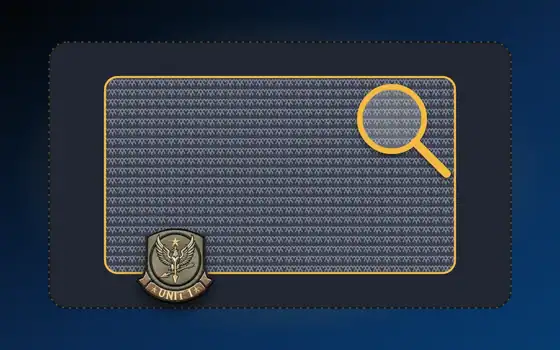
The patch carries the hook side. It needs a matching loop surface, such as the loop panel on tactical gear or a loop panel attached to your garment or bag.
-
2
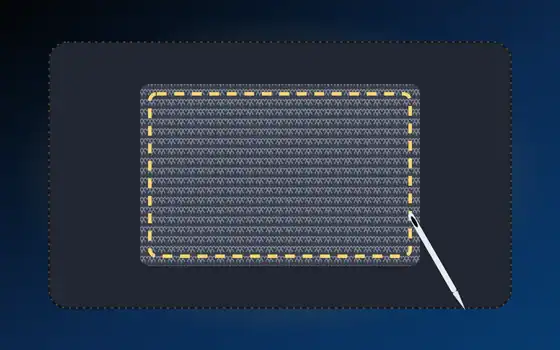
Attach the loop panel
If your item has no loop surface, sew a loop panel in the position you want the patch to sit.
-
3
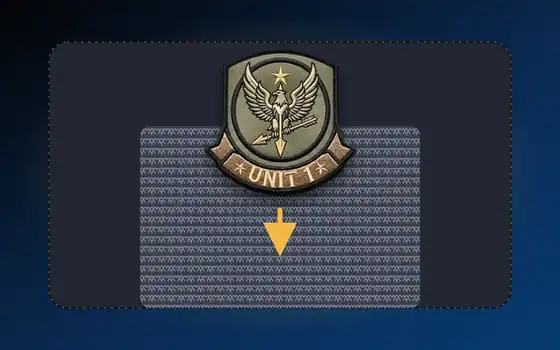
Press the patch on
Line the patch up with the loop surface and press firmly so the hooks grip.
-
4
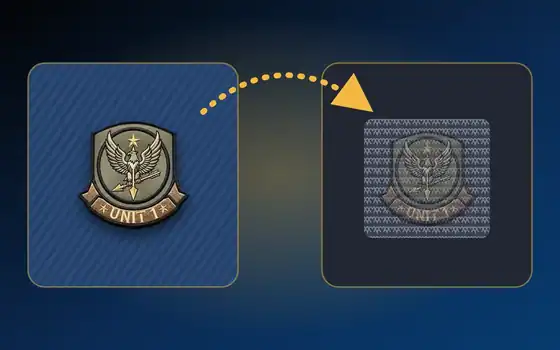
Swap or remove
Peel it off whenever you like and move it to another item. Keep the hook side free of lint and thread buildup.
 123
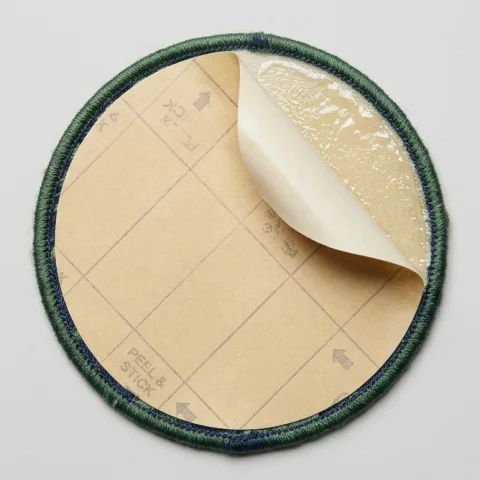
- Liner Paper liner keeps the glue clean
- Glue Sticky layer under the liner
- Peel Peel the liner, then press on
Adhesive: A peel-and-press backing for quick, no-tool attachment.
For anything that will be washed or worn hard, sew-on is the most permanent option.
-
1
Prepare the surface
Make sure the spot is clean and dry, with no dust, lint or oil.

-
2
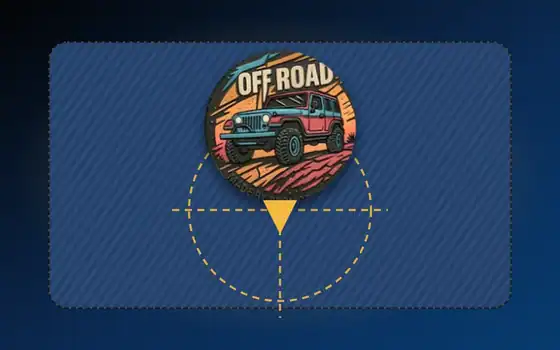
Position the patch
Hold the patch over the spot and check where it will sit before you peel anything.
-
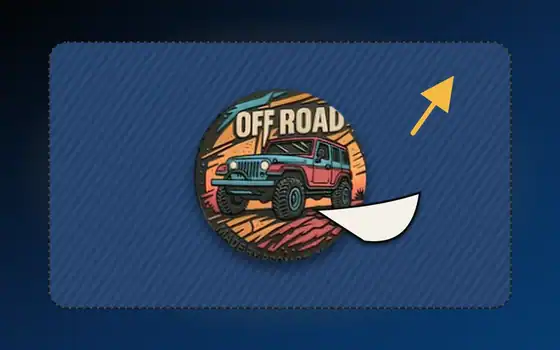
3
Peel and press
Remove the backing paper and press the patch down firmly, working from the centre to the edges.
-
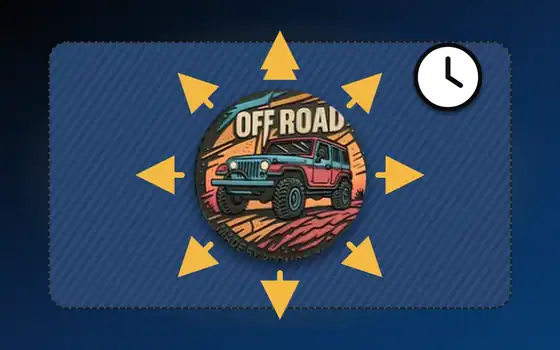
4
Hold it in place
Keep pressure on it for a few moments so it sits flat, then check that the edges are down.
Pin: A removable pin back: wear it, move it, take it off before washing.
- 1
Pick the spot
Choose a firm fabric such as denim, canvas or a cap panel. Very thin fabric can pucker under the weight.
- 2
Open the pin
Open the pin on the back of the patch.
- 3
Push it through
Push the point through the fabric from the inside and back out a little further along.
- 4
Close and check
Close the pin until it locks, then give the patch a gentle tug to check it holds.
Magnetic: Two magnets hold the patch through the fabric with no holes.
- 1
Separate the parts
Pull the backing plate away from the patch.
- 2
Plate inside
Hold the plate inside the garment, right behind the spot you want.
- 3
Patch outside
Line the patch up on the outside; it snaps onto the plate through the fabric.
- 4
Before washing
Take the patch off before washing. Thick fabric weakens the hold, and magnets must be kept away from pacemakers.
Butterfly Clutch: A post and butterfly clutch, the same fastening used on lapel pins.
- 1
Position the patch
Hold the patch in place and check it from a step back.
- 2
Remove the clutch
Squeeze the two wings of the clutch and pull it off the post.
- 3
Post through the fabric
Push the post straight through the fabric from the front.
- 4
Lock it on
Press the clutch back onto the post on the inside until it clicks, then check the patch does not spin.
Not sure which backing your patch has? Check your order, or contact us before you apply it.
On Instagram
Latest Reels
Our Gallery
Patches we have made for our customers. Tap one to look closer.
From Artwork To Patch
Upload Your Design. We Turn It Into A Embroidered Patch.
Send your artwork and we prepare a digital proof for you to review. Nothing goes into production until you approve it.
- 01Your designFlat artwork, exactly as you send it
- 02We build itYour artwork is prepared for embroidered production
- 03Finished patchReviewed with you as a proof, then produced
Quantity Savings Calculator
The More You Order, The Less Each Patch Costs
Move the slider to your quantity and see what your order unlocks. Your exact price comes in your free quote, usually within 24 hours.
- Free quote, free digital proof, no setup fees
- Free shipping
- Free sample before production
Included with every order
Free With Every Order
Four things you never pay extra for.
-
01
Free Quote
Tell us what you need and we reply with your quote within 24 hours, at no charge.
-
02
Free Digital Proof
Get your digital proof within 24 hours and approve it before anything is made.
-
03
No Setup Fees
Artwork set-up is on us, whichever patch style you pick.
-
04
Free Shipping
Free shipping on orders of 100+ patches.
100+ patches
Ordering 500+ patches? We also send you a free physical sample to approve before the full run.
Shop by use
Patches For Every Use
Jackets, bags, caps, uniforms, flags and more. Pick what you are making to see the patch that suits it.
FAQ
Embroidered patches are dense thread stitched over a twill backing for a raised, textured look that reads well from a distance.
Verra offers iron-on, sew-on, velcro (hook and loop) and adhesive backings. Tell us which you prefer when you request a quote and we will confirm what suits your design.
They are our most requested style for uniforms, brands and clubs, and suit jackets, uniforms and caps.
Yes. Proofs are free, revisable and sent within 24 hours — nothing goes into production until you approve the final version.
Most styles ship in 7–10 business days after you approve the digital proof; chenille runs 10–14 days.
Related Patches


Ready For Your Embroidered Patches?
Share your idea or artwork and we’ll prepare a free digital proof.